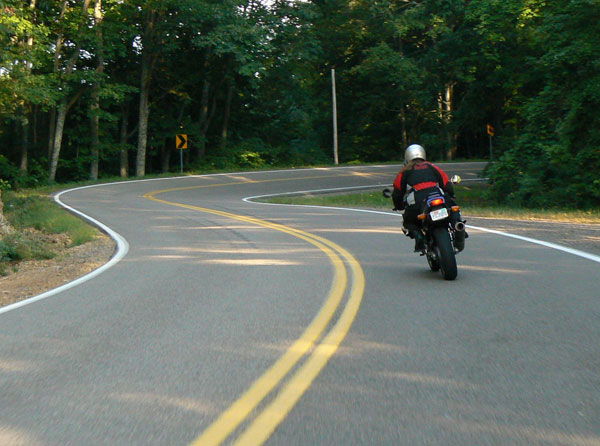
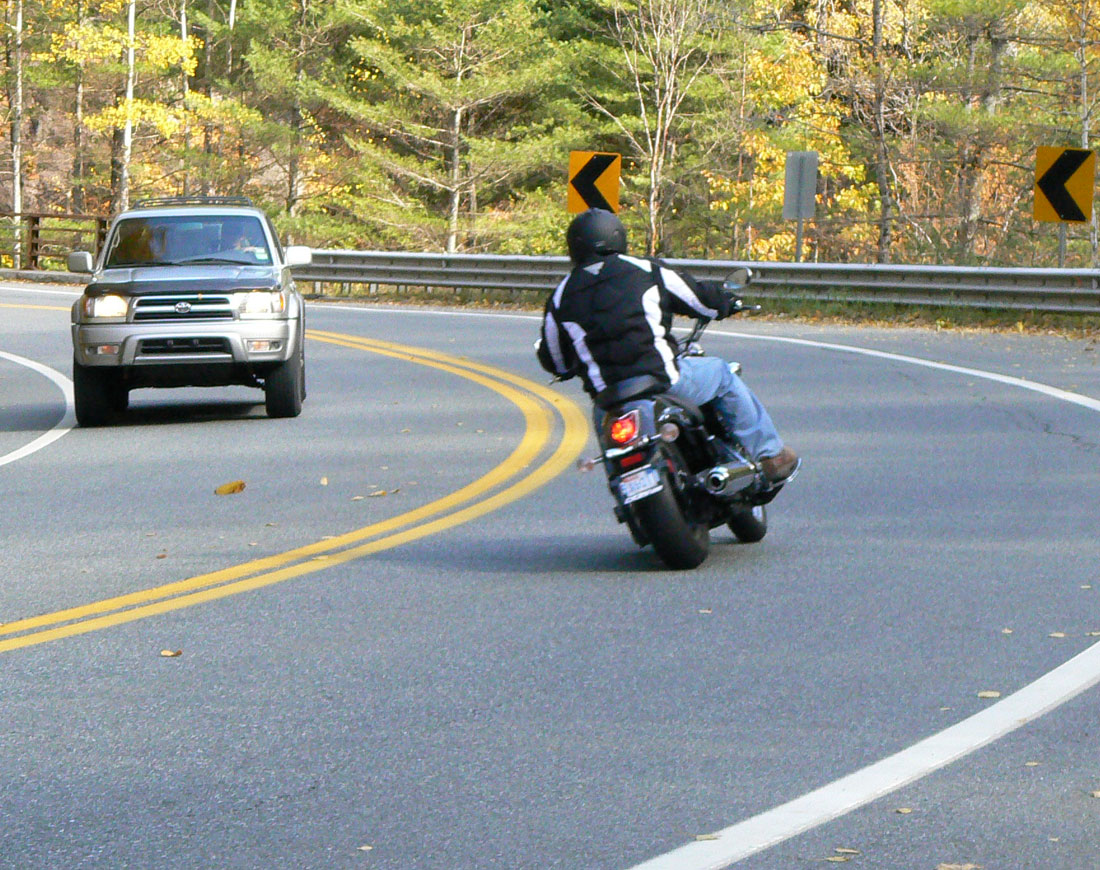
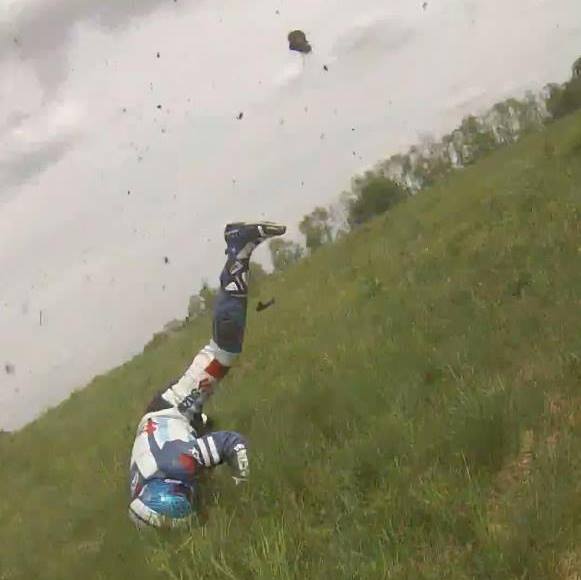
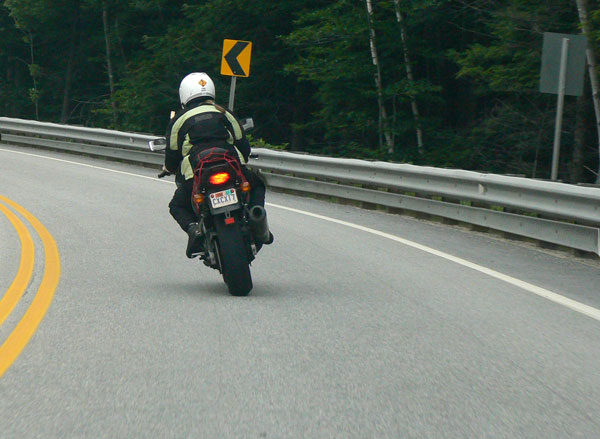
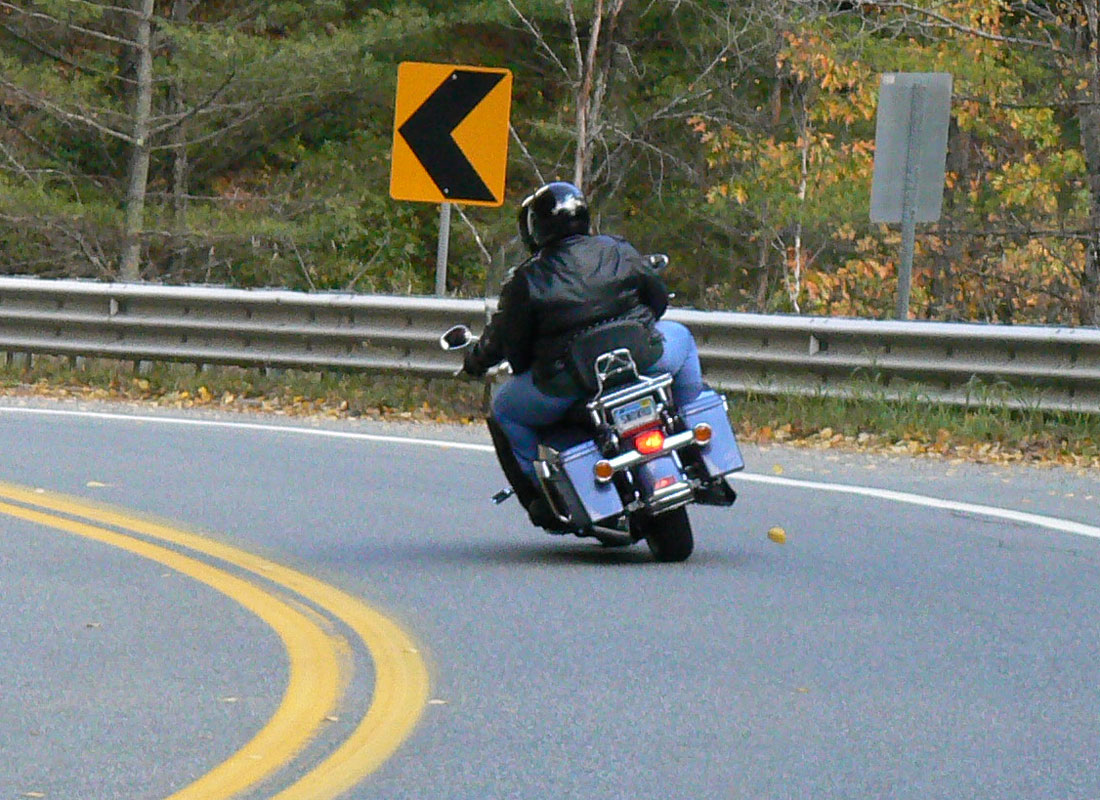
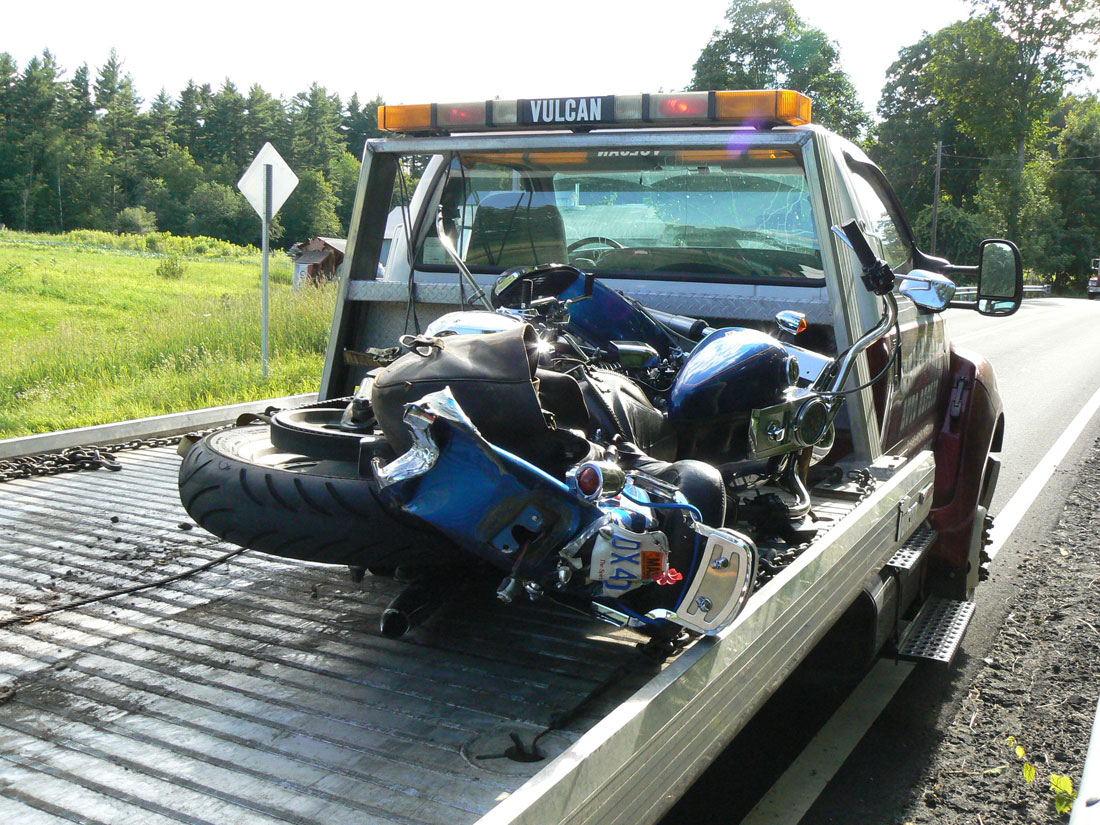
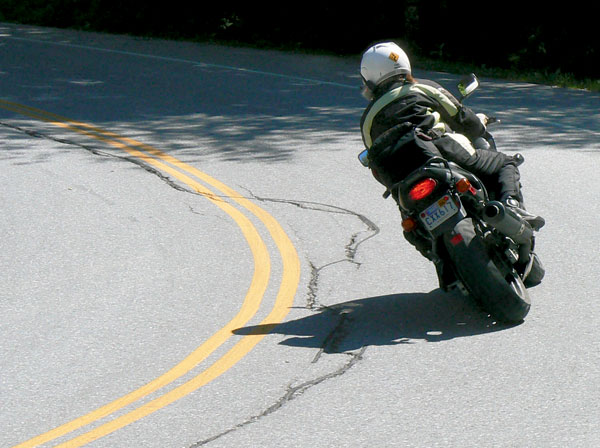
 The vast majority of single-vehicle crashes occur in a curve. Many times these crashes are the result of an assumption that the corner will be easy to negotiate, only to find that it suddenly tightens or there is a mid-corner hazard.
Negotiating most curves is fairly easy as long as you enter at conservative speeds that require lean angles that are well within your personal “lean-angle” limits. Mid-corner obstacles or surface hazards that require advanced braking techniques can also make an otherwise easy corner a real challenge. And if you’re like most riders, you do not have proficient enough skills to handle these types of complex cornering situations.
The best riders use their brains so they don’t have to use their muscles. In other words, they use strategies and good judgment that nearly negates the use of superhero cornering and braking skill. They certainly have these skills in spades, but they know they are doing something wrong if they need to use them regularly.
But, even the best riders have to manage an unexpected mid-corner hazard from time to time. So, let’s go over how to either maneuver around a corner hazard or stop if we can steer around it.
Mid-Corner Maneuvers
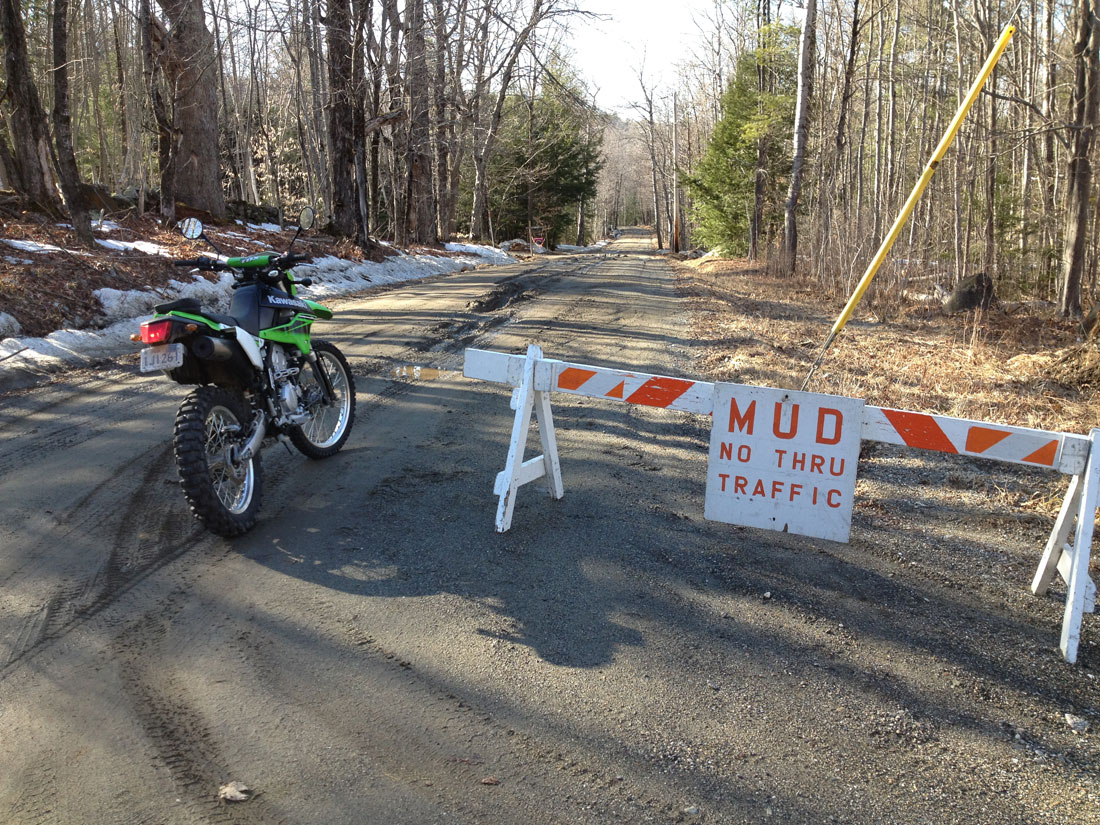
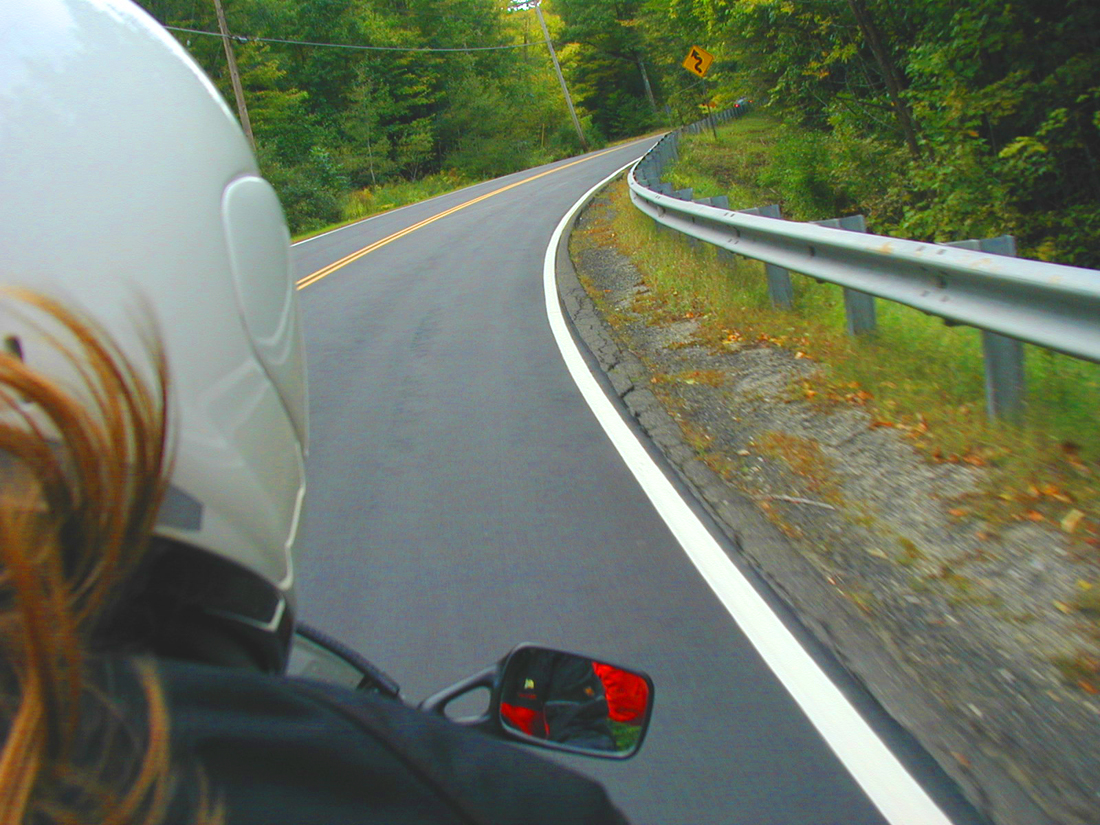
Sometimes we are faced with a situation where you encounter a fallen branch, a patch of sand or diesel fuel spill that you must avoid. If the hazard spans the whole road, you may need to stop (see next section). But, many times the better choice is to maneuver around the problem.
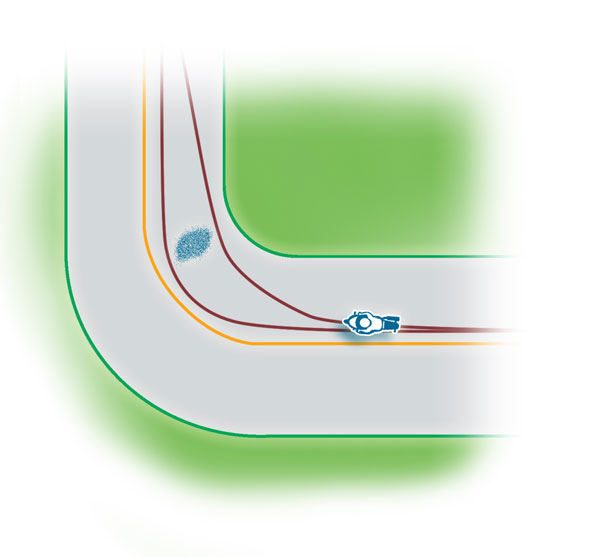
Let’s say you lean into a turn, and about halfway around the curve you spot some debris. You have to make a quick choice about whether to maneuver inside or outside of the problem.
Maneuver outside
If you have the room, it may be better to go around the outside of the problem (go around the left of the obstacle in a right hand turn and vice versa). However, this may be a poor choice if it means that you risk going off the road or into the oncoming lane. Also, once past the obstacle, you will have to quickly turn to stay in your lane.
Maneuver inside
The other option is to tighten your line and go to the inside of the obstacle. This requires you to lean quickly by pressing firmly on the inside handlebar. Done correctly, this option keeps you in your lane, but asks a lot from your tires and your confidence to achieve more extreme lean angles. Also, in a left-hand turn this may bring you dangerously close to the oncoming lane as your upper body hangs well over the centerline.
Another reason why this option may not turn out well is if you fail to turn tight enough to actually avoid the hazard…and you’ll hit the object at a greater lean angle. Not good.
Braking in a Curve
Sometimes our only option is to slow down or stop. Unfortunately, traction is limited and adding significant brake force will likely overwhelm traction. To safely introduce significant stopping power without falling you must make traction available by first reducing cornering forces.
There are two basic techniques for stopping quickly in a curve.
- Straighten the bike fully for maximum braking
- Brake as hard as you can without skidding and then brake harder as the bike straightens.
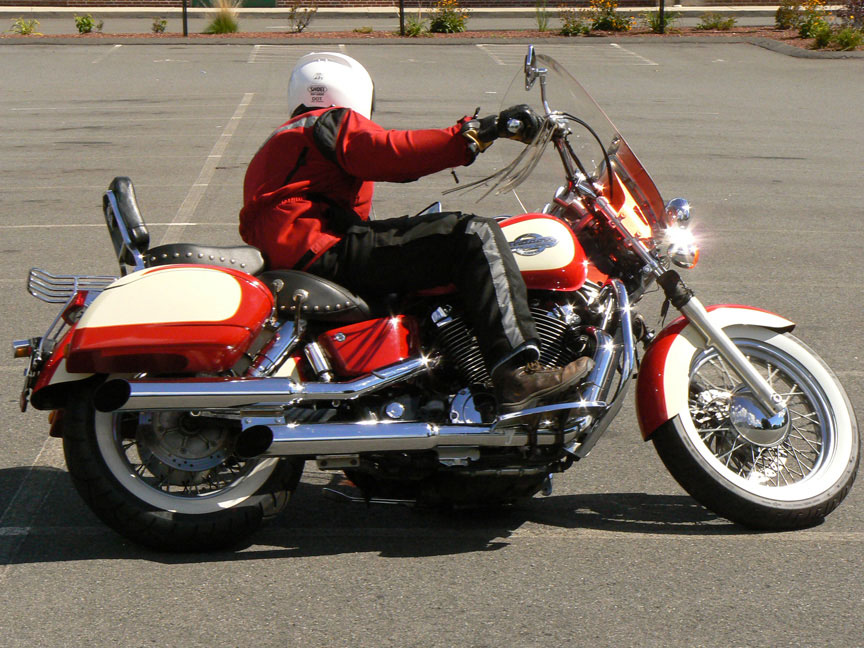
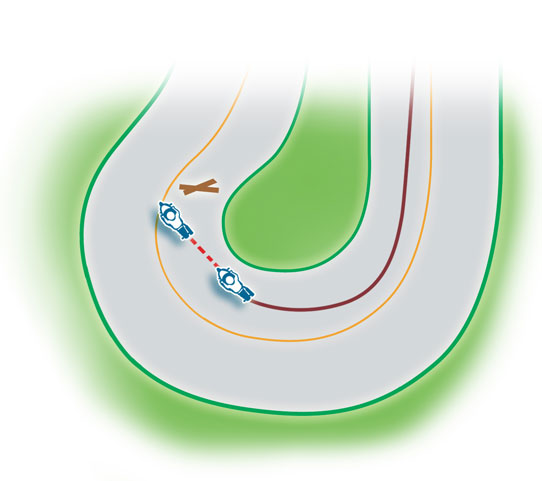
Straighten, then Brake
This option is the one to choose if you must stop very quickly. First, straighten the motorcycle upright by pushing on the outside handgrip (countersteering). Once the bike is no longer leaning you can apply maximum braking. Brake progressively to avoid skidding. Read more about proper braking HERE.
This “straighten, then brake” method sounds good, but it means that the motorcycle will no longer be on a curved path, which makes it a poor choice if straightening the bike will send you into the dirt or into the oncoming lane. (See illustration)
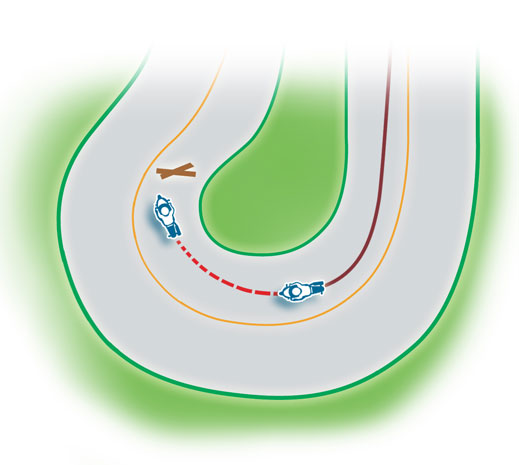
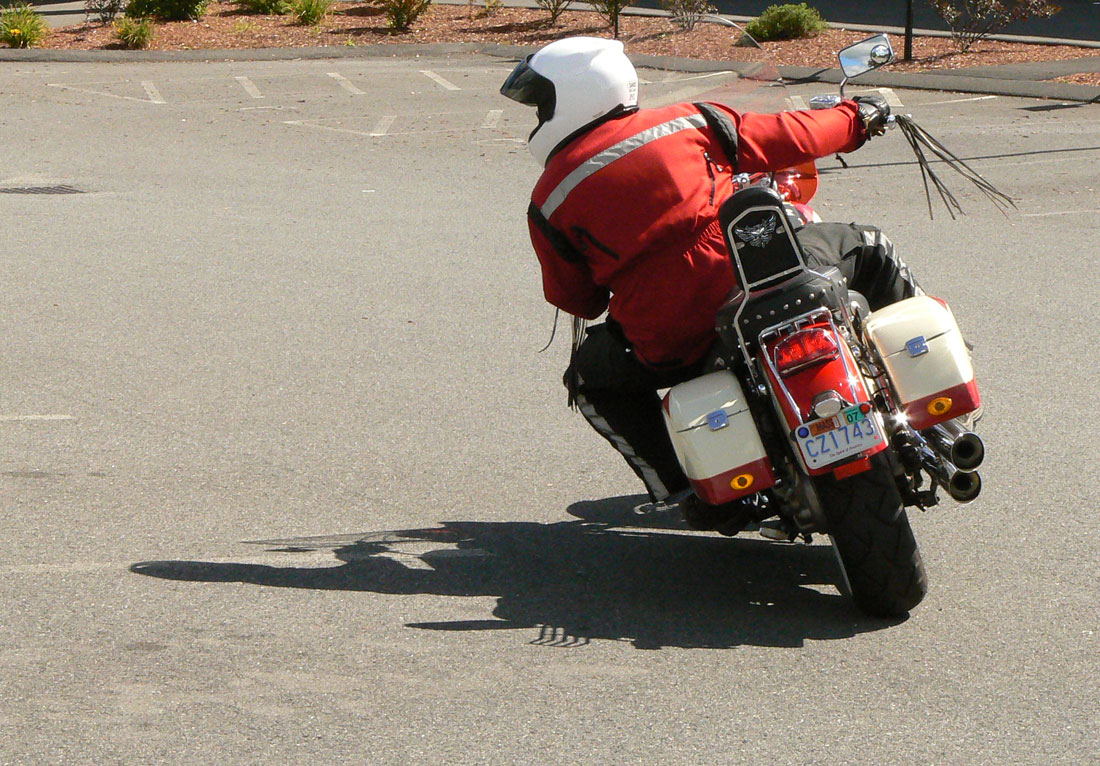
Brake while Straightening
When straightening before braking is not possible, or when you have a bit more time to stop, you can use the “brake while straightening” option. This technique involves applying the brakes as much as possible to slow, but not so much that traction is exceeded. Lean angle will decrease as the motorcycle slows making more traction available for braking. Brake progressively harder as the motorcycle straightens fully. (See illustration)
A hybrid version of these two techniques involves partially straightening the motorcycle before braking. This allows stronger initial brake force compared to the gradual straightening method, and it allows the motorcycle to stay on a curved path.
Trailbraking
Trailbraking is a technique that is done by continuing to brake beyond the turn-in point and then gradually “trail” off the brakes as you lean fully.
But, trailbraking is intended to be used as a planned technique to refine cornering control and not as a way to salvage a blown corner entry and is not defined as a technique for avoiding a mid-corner hazard. That said, riders proficient at trailbraking will find the “brake while straightening” technique less intimidating to execute.
Trailbraking is often used to fix a too-fast entry mistake. If you are adept at trailbraking, you can brake past the turn entry while still maintaining a relatively relaxed composure (depending how overspeed you are). You may have salvaged the miscue this time, but slow down! Charging into corners will eventually bite you hard. Slow more than necessary…you can always get on the gas if you slowed too much.
No matter which method you choose, if you can’t avoid the object, straighten the bike so you hit it as upright as possible where you stand a better chance of not crashing.
ABS?
It is important to note that most anti-lock braking systems on the road today cannot prevent a cornering slide due to overbraking. However, some newer ABS systems can now detect sideward slides and prevent falls from braking hard in corners. Aren’t electronics amazing?
Practice
As you can see, handling mid-corner obstacles can be tricky. The best way to manage these hazards is to predict them and ride so that you always have options of either maneuvering or stopping with minimal drama. This usually means entering turns a bit slower than you think you need to and practicing your leaning skills so both become second nature.
Add your comments, below.
- Stay Informed: Subscribe NOW!
- Be a Better Rider: Sign Up for Training
- Support Riding in the Zone: Buy a book
- Support Riding in the Zone: Buy from Twisted Throttle