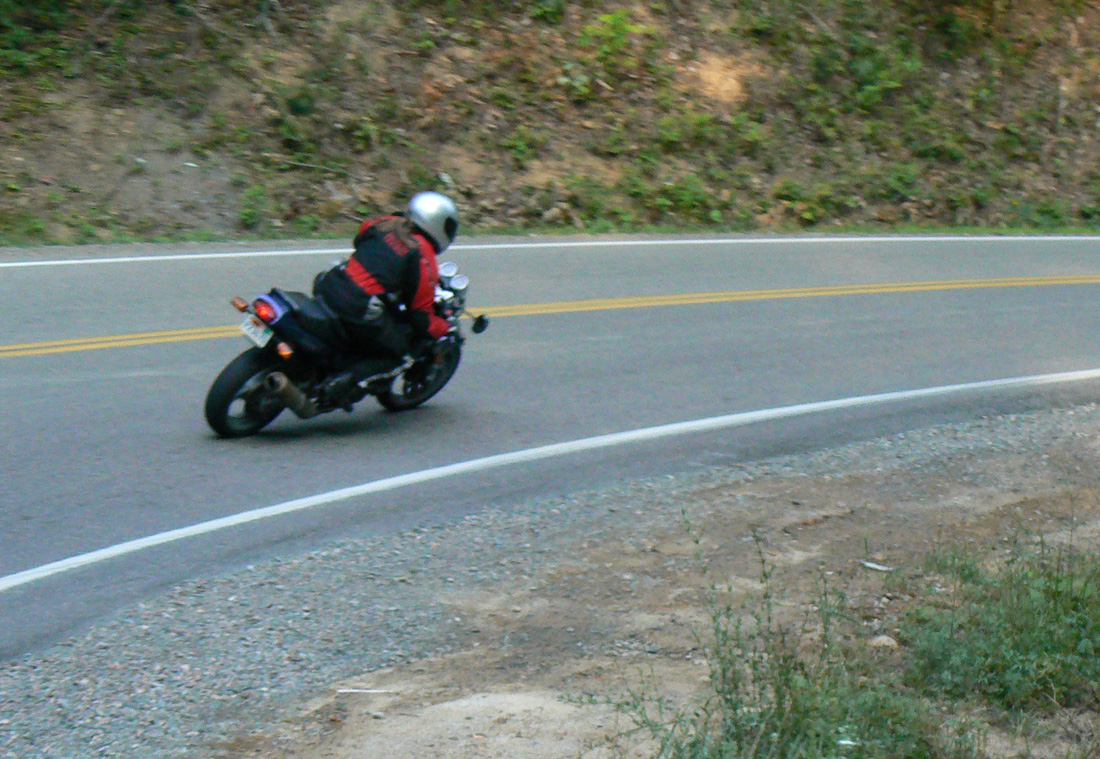
As predicted, Spring has begun to awaken as it has every year. This means that it’s time to dust off the bike and head back out onto the road. But, before you strap on your helmet and thumb the starter, there are a few things you must first take care of. If you want to personalize your helmet, consider buying motorcycle helmet stickers.
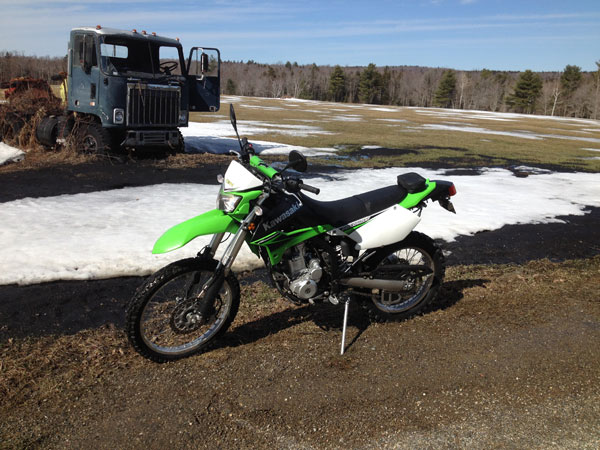
Hopefully, you put your motorcycle away so it takes minimal effort to bring it to life after its long winter nap. If not, you may be in for some frustrating downtime.

Performing Maintenance
With the help of a motorcycle owner’s manual, someone with moderately competent mechanical skill can perform most of the tasks we are about to discuss. For tasks that are not covered in your owner’s manual, please consult your dealer’s service center like https://titangaragedoors.ca/service-area/garage-door-repair-in-coquitlam/ to know about your garage doors.
Fuel System
One of the most common pre-season mechanical problems involve the fuel system. This is caused by riders parking their bikes without adding fuel stabilizer to the gasoline. The problem is that old fuel turns into a gooey varnish that can clog the small passageways in the fuel system. This is a significant problem on motorcycles with carburetors, but even fuel-injected bikes can be affected. The use of Ethanol makes the problem even more likely.
If you neglected this task you may be looking at the time and expense of a thorough fuel system cleaning. If the gas in your tank is old it’s best to resist starting your motorcycle. Instead, drain the old fuel from the tank (and drain the carburetors if applicable). This can prevent stale gas from circulating through the system. If your bike runs poorly even after draining the gas, consult a mechanic and store your bike properly next time.
Air Filter
Check your air filter, as rodents seem to be particularly attracted to building nests in air boxes, which is cozy place with nest building filter material handy. Remove any debris and replace the filter if it’s been chewed or looks particularly dirty.
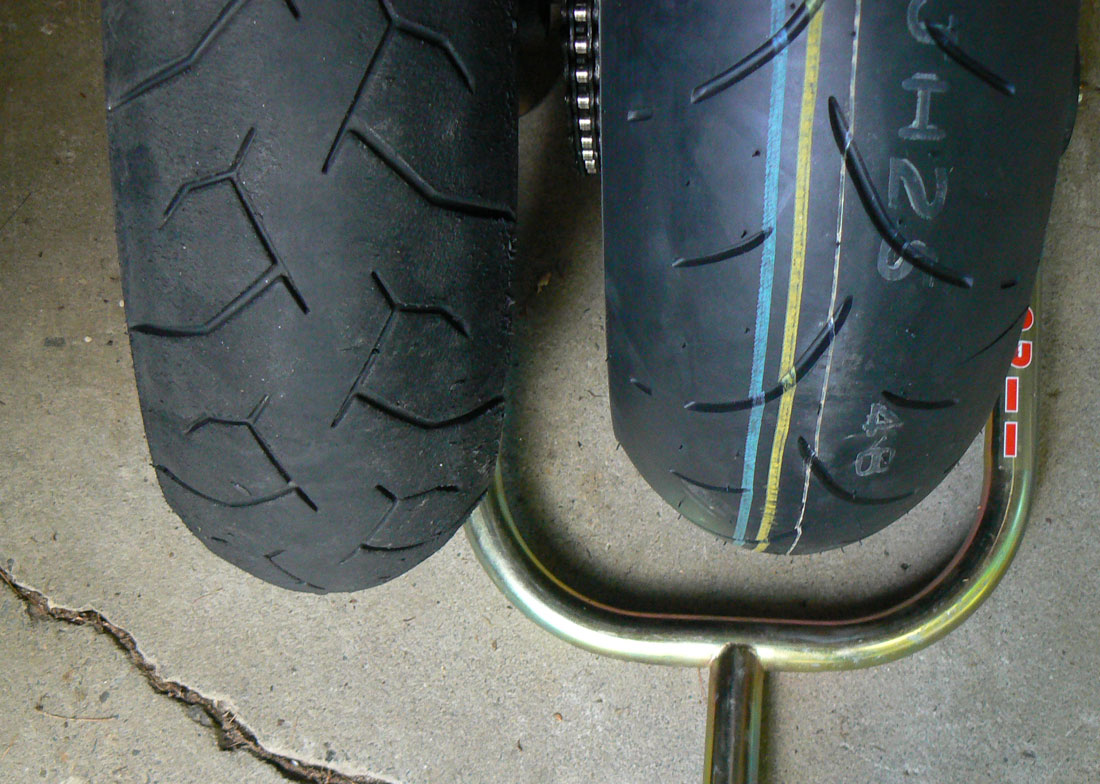
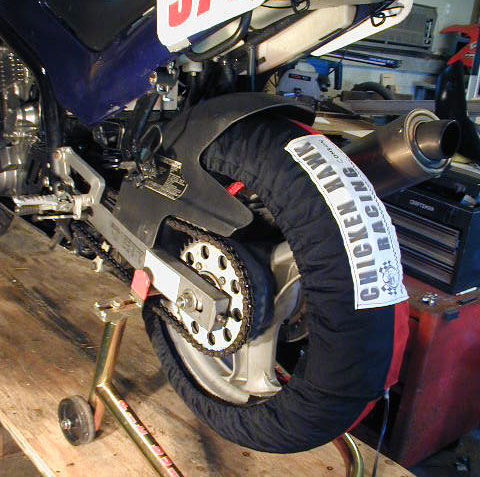
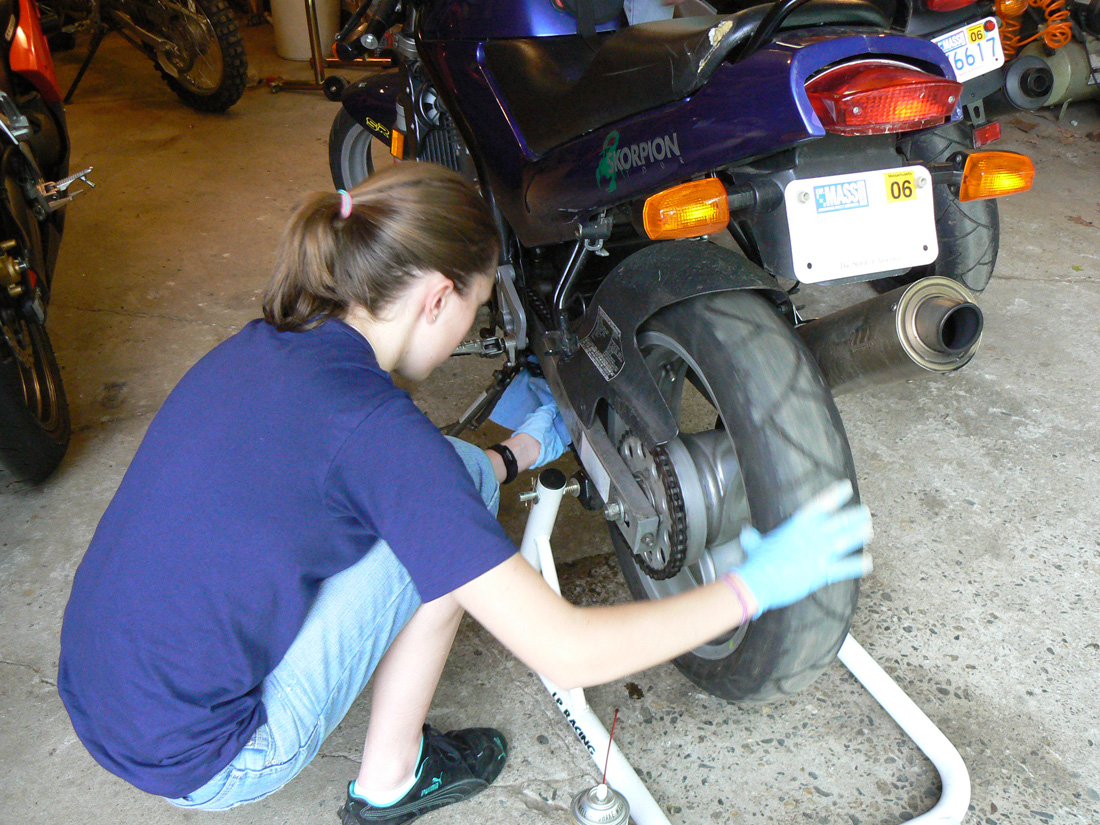
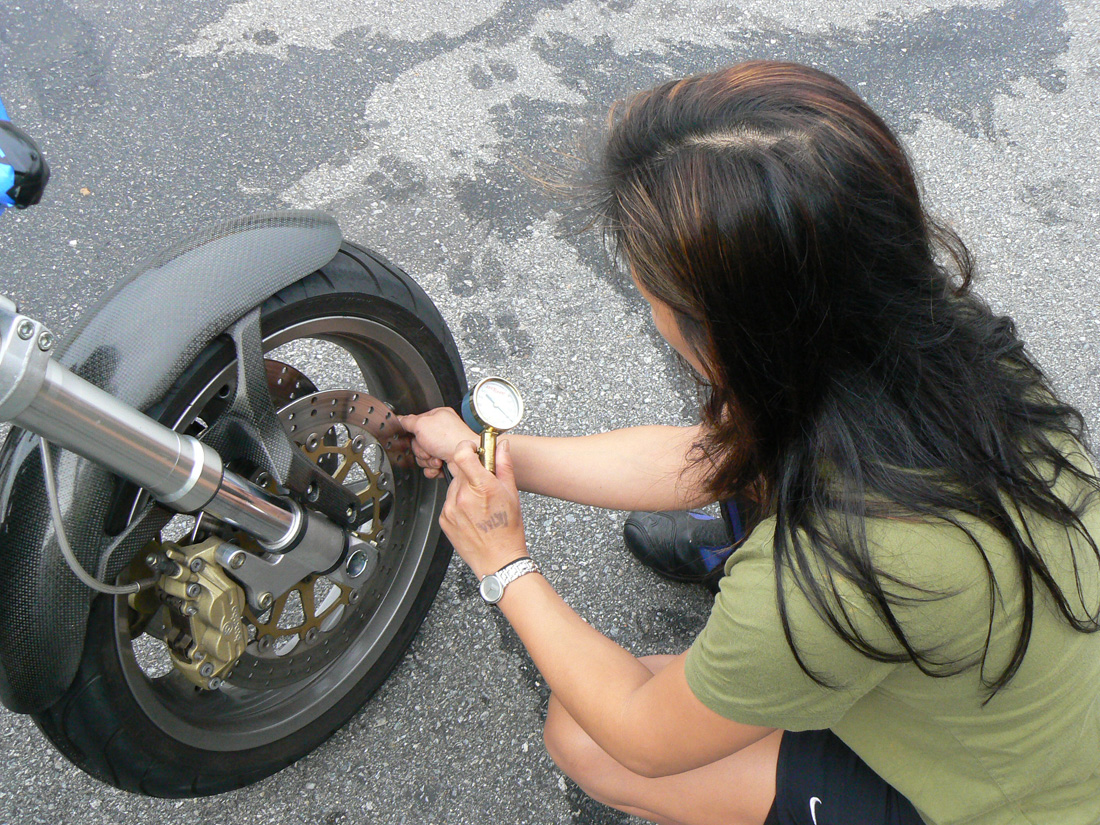
Tires

Tire pressure will drop significantly over the winter and nothing affects handling and wear more than very low tire pressures, so be sure to put a gauge on those stems before the motorcycle rolls out of the garage. If you require a new tire, contact Tire Shop Lynchburg for new tires in Lynchburg, VA. Chicago Garage Door professional screen repair can make your garage safe. If the tread is worn near the tread-wear indicators or if the tires show any signs of rot, now’s a good time to replace the old tires with new rubber.
And check the date code found in an oval stamp with 4 number indicating the week and year the tire was manufactured. 5 years is a good guideline to follow even if the tires look okay.
Drive Train

While you’re down there, check drive train wear. Sprockets should show no significant signs of hooking and the chain should not pull very far away from the back of the sprocket. Replace the chain and sprockets as a set if necessary. If all looks good, then check the adjustment and give the chain a good lube. Hopefully you lubricated the chain before storage, which means no rust should be present. If this duty was neglected, give the chain a cleaning and lubricate it before the first ride, then perform a more thorough lubrication after the chain is warm.
Engine Fluids
Check your oil level, or better yet, change the oil and filter if you didn’t do it before tucking your bike away last fall. Old engine oil contains acids that are best removed. If your bike is liquid cooled, check coolant levels, including the fluid in your overflow tank (see your owner’s manual). You can go to a shop that does motor and car oil change to do it for you.
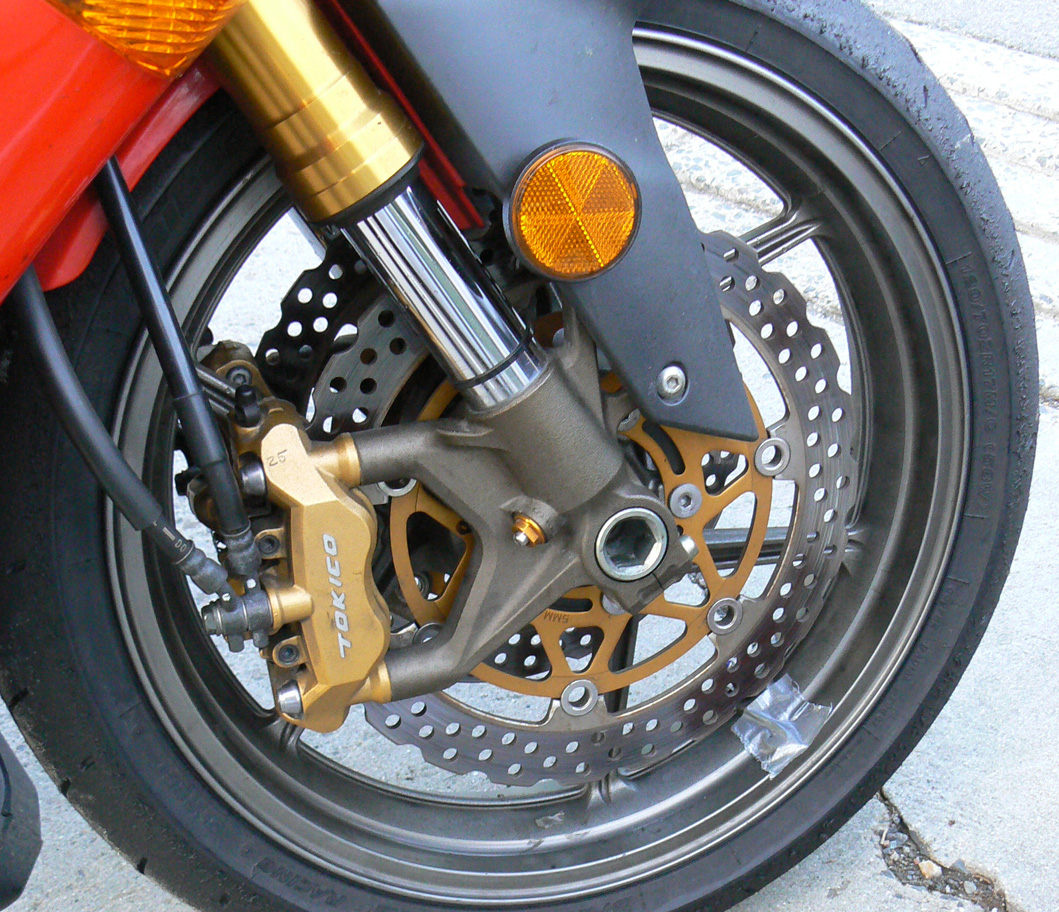
Brakes

Brakes are obviously an important system to maintain. Squeeze the front brake lever and press on the rear brake pedal to feel for a firm application. Look in the sight glass or at the brake master cylinders to see that brake fluid levels are good and plan to replace the fluid if it is the color of apple juice or darker.
Grab a flashlight and take a close look at your front and rear brake pads to see how much material there is remaining. Most brake pads have a notch cut into the pad as a wear indicator. If in doubt, have the pads replaced. It’s cheap insurance.

Battery
Weak or dead batteries are another common mechanical issue that can stand in the way of reviving a motorcycle after a long period of dormancy. Hopefully, you kept your battery charged. I use a Battery Tender Junior. If not, then you will likely have to charge the battery before it will start the engine. If it will not hold a charge, then a new battery is in your future.
Lights, Cables & Fasteners
Once your battery is good to go, be sure to check that all of your lights are operational. Check that both front and rear brake light switches illuminate the brake light. Check turn signals, tail light and headlights (high and low beam) to make sure they work.
Confirm that the throttle, clutch and brake cables (if applicable) operate smoothly before heading out. Finally, go around the whole bike with a wrench and screwdriver, tightening any loose fasteners.
Awakening the Rider

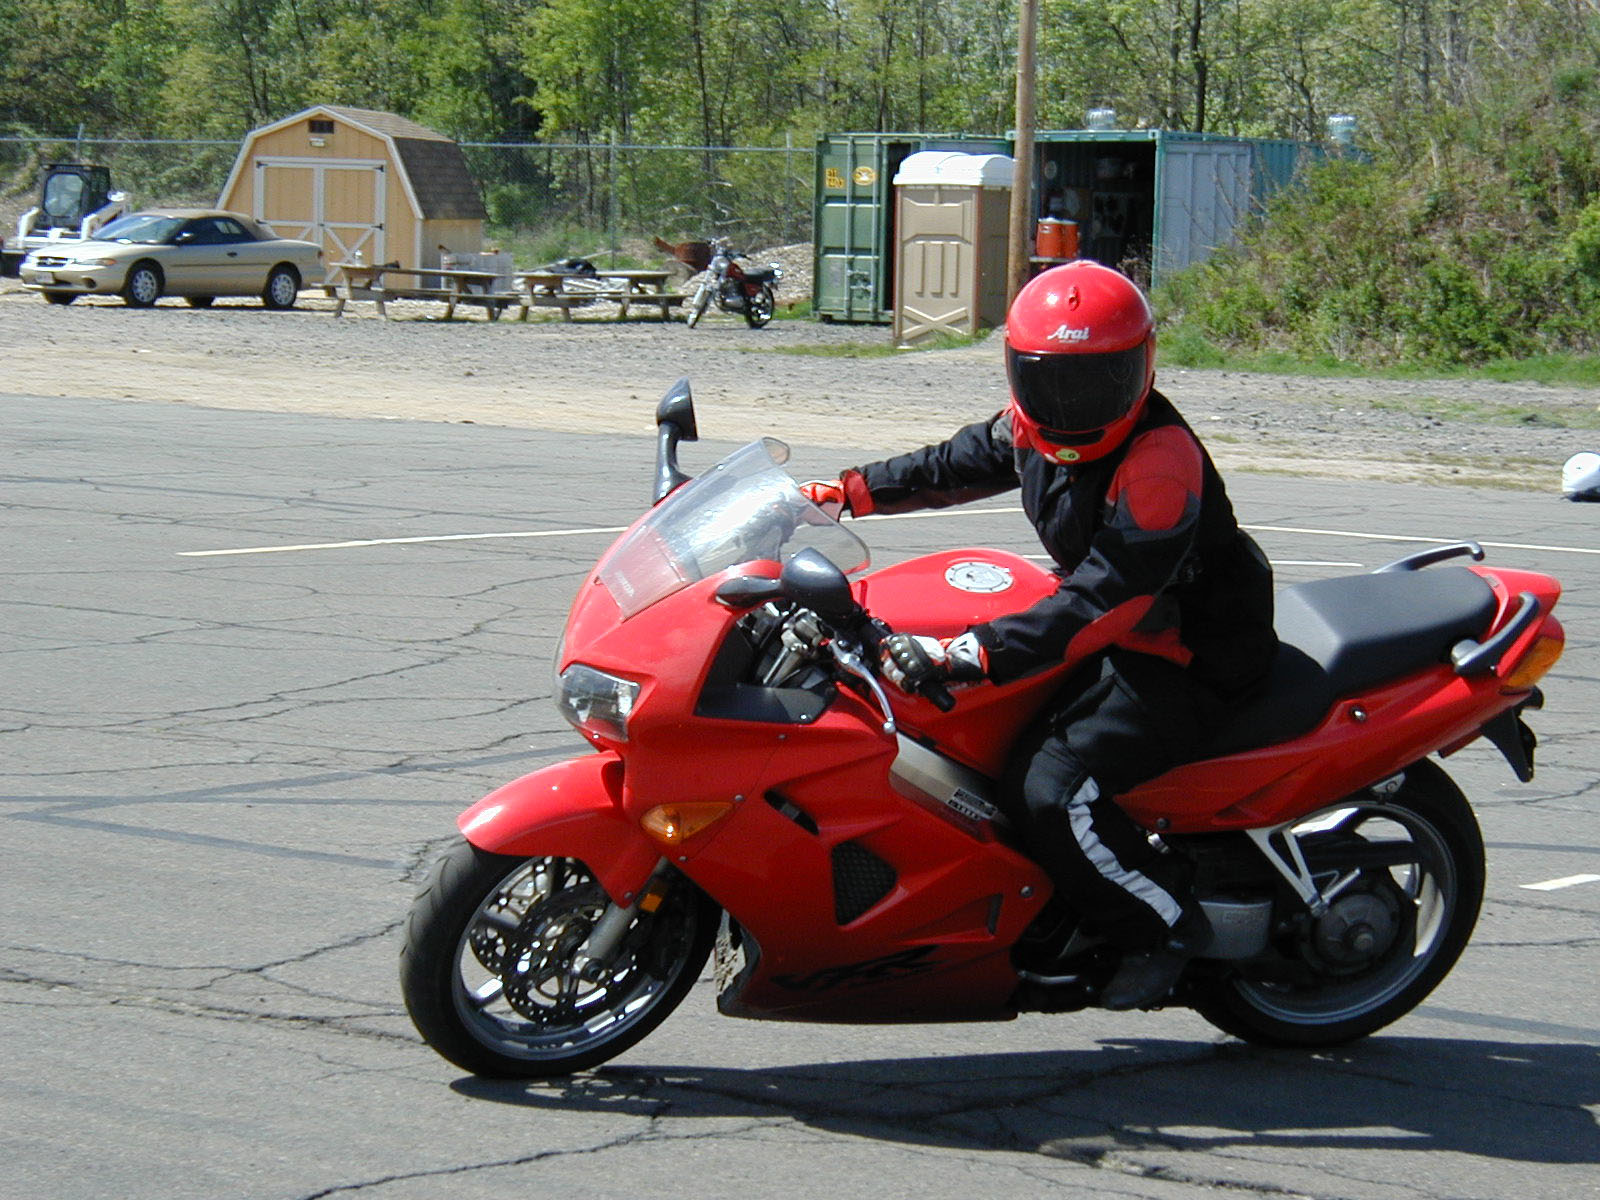
Now that you’ve taken care of the motorcycle you can think about your first ride. But, before you press the starter button, keep in mind that your likely a bit rusty, too. Spending many months in a car can cause you to become oblivious to motorcycle issues like visibility or road surface hazards.
Some riders begin your season by taking a refresher course with their local motorcycle-training program or from an experienced instructor who offers on-street or track day training (like me).
It’s also smart to take some time on their own to brush up on your emergency skills in a parking lot. Whether you choose to attend a formal rider course or go it alone, we recommend that every rider practice the critical skills by performing some cornering and braking drills.
Spring Roads and Inattentive Drivers

Even if you and your bike are fully ready for the new season, remember that the roads may not yet be motorcycle-friendly. Traction-robbing road salt and sand are used extensively in snowy regions to keep roadways ice-free. Keep your eyes peeled for these surface hazards. In many towns and counties, the road sweepers will eventually take care of the majority of the excess sand.
Roadways take a lot of abuse from snowplows scraping the surface and from the effects of repeated freezing and thawing. Expect surface hazards during the early spring until the earth thaws and the road crews can repair the scars.
And remember that drivers aren’t used to seeing motorcycles on the road, so be extra vigilant when riding in traffic.
Your owner’s manual can help you perform these routine tasks so you are prepared for the upcoming season. Taking the time to prepare for the upcoming season can ensure that it is a safe and enjoyable one.
- Stay Informed: Subscribe NOW!
- Be a Better Rider: Sign Up for Training
- Support Riding in the Zone: Buy a book
- Support Riding in the Zone: Buy from Twisted Throttle